
How to Test a Bubble App Without Writing Code
A practical testing routine for Bubble apps: what to test, how to use Bubble's own tools, and when to automate.
You built your app in Bubble so you wouldn’t have to write code. Testing it shouldn’t force you to start now.
But “I’ll click around before I deploy” stops working the day your app gets real users. Usually, that’s the same day a small change quietly breaks sign-up.
Even Bubble ran into this with its own platform. In 2022, Bubble’s VP of Product described the problem like this: “Pretty frequently, we would get a bug report, and in the process of fixing it we would introduce a new one.” Their answer was around 1,400 automated end-to-end tests (QA Wolf case study).
You don’t need 1,400 tests. You do need a routine. Here’s a practical one.
1. List the journeys that pay the bills
Before you think about tools, write down the five to ten things users must be able to do. For most Bubble apps, that looks like this:
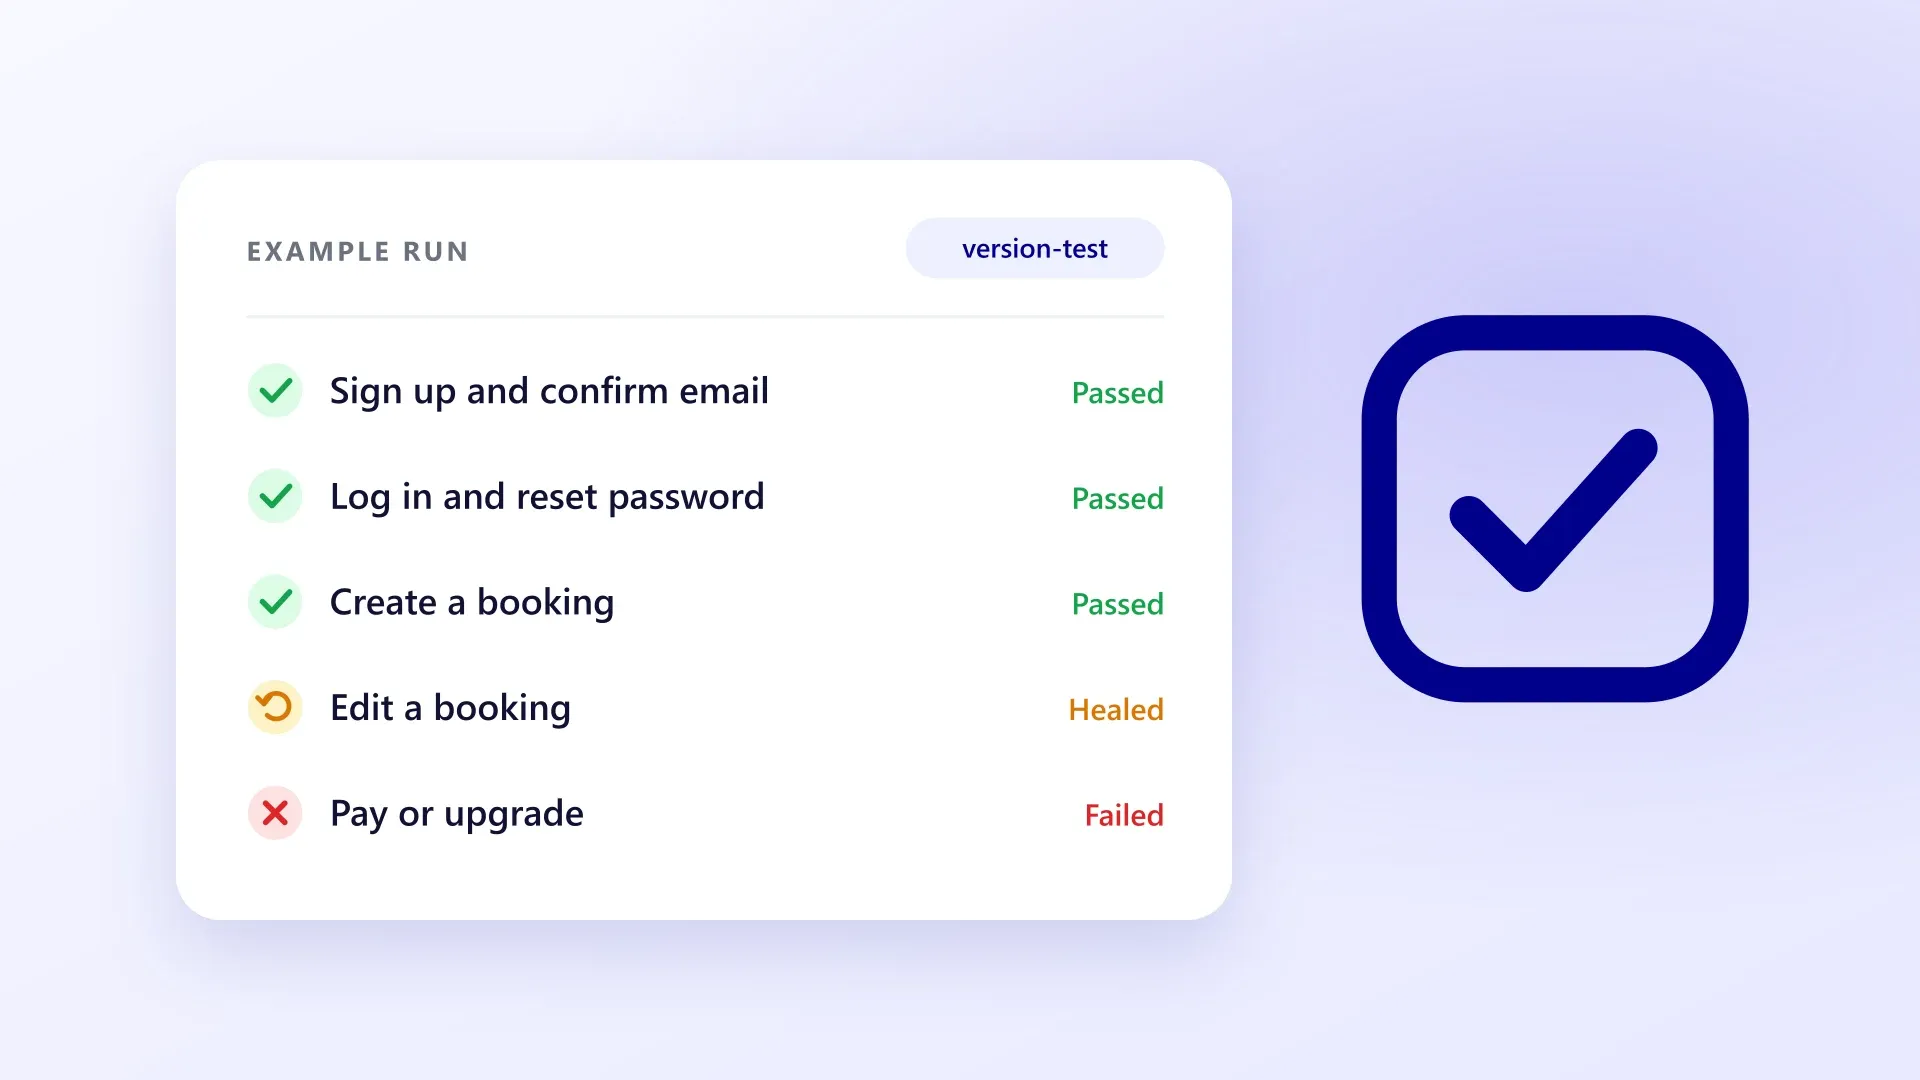
- Sign up and confirm their email
- Log in, and reset a forgotten password
- Create, edit and delete the main thing your app is about (a booking, a project, a listing)
- Pay or upgrade
- See their own data, and only their own data
Each of these is an end-to-end test: a check that walks through your app the way a user would, from the first click to the final result. This list is your test plan. Keep it somewhere you’ll see it before every release.
2. Test in version-test, not live
Every Bubble app has a development version (the URL ending in /version-test) and a live version. Make changes in development, run through your journeys there, and deploy to live only when they pass.
Two habits make this far more useful:
- Use a dedicated test account. Never test with your admin login or a real customer’s account.
- Keep some realistic test data. For example, a test user with an active subscription, one with an expired subscription and one with no data at all. Plenty of bugs only show up for one of them.
3. Use the debugger to find out why
When something fails, open the page in preview with debug mode on (add debug_mode=true to the URL). Step-by-step mode lets you watch each workflow action run and inspect the values of elements on the page.
The debugger is excellent at telling you why something broke. It won’t tell you that something broke. You still have to go looking.
4. Test the parts users can’t see
Some of the most painful Bubble bugs never show up on the page you changed:
- Privacy rules. Log in as one test user, then another, and make sure neither can see the other’s data, including in searches and repeating groups.
- Backend workflows. Scheduled and API workflows fail quietly. Check your app’s logs after any change that touches them.
- Plugins. A plugin update can change how an element behaves. Re-run your journeys after updating one.
- Mobile layouts. Run your key journeys on a phone-sized screen, not just your desktop.
5. Make your app easier to test
If you automate your tests later, or use a tool that does it for you, stable element IDs make a big difference. Bubble’s generated page markup isn’t designed with testing in mind, so tests that rely on it can break when you edit a page.
You can give important elements your own IDs:
- In your app’s Settings tab, turn on “Expose the option to add an ID attribute to HTML elements”. At the time of writing, it’s under General, in Advanced options (Bubble manual).
- Give key buttons and inputs meaningful IDs, like
signup-submitorcheckout-pay.
6. Automate the repetitive part
Manual checks work until you have more journeys than patience. Then they get skipped, and skipped checks are how bugs reach users.
Automated end-to-end tests do the same clicks every time, on a schedule, and tell you when something fails. Roughly, your options are:
- Write tests with Playwright. It’s free, open source and excellent, but it’s code. You’ll need Node.js, a code editor and somewhere to run tests on a schedule.
- Use a record-and-replay testing tool. These are quicker to start with, though recorded tests often need re-recording when your design changes.
- Use a hosted service that writes and runs the tests for you.
That last option is where DryRun comes in. Point it at your Bubble app, and its AI agents map the app, write tests for your key journeys and run them on real browsers. When a harmless design change breaks a test, DryRun repairs it and shows you what changed. When something really breaks, you get a screenshot and a video of exactly what happened.
A simple routine
- Before every deploy: run your journeys against
version-test. - After every deploy: run them against live.
- Every day: run them on a schedule. Your plugins and the services you connect to can change even when you don’t touch your app.
If you only do the first one, you’re already ahead of most apps.
Building part of your app with an AI app builder or coding assistant too? The same routine applies (here’s what else to watch for).
If you’re building on Bubble and want your key journeys tested, get free early access.

DryRun
Automated end-to-end testing for apps built with no-code and AI tools.